
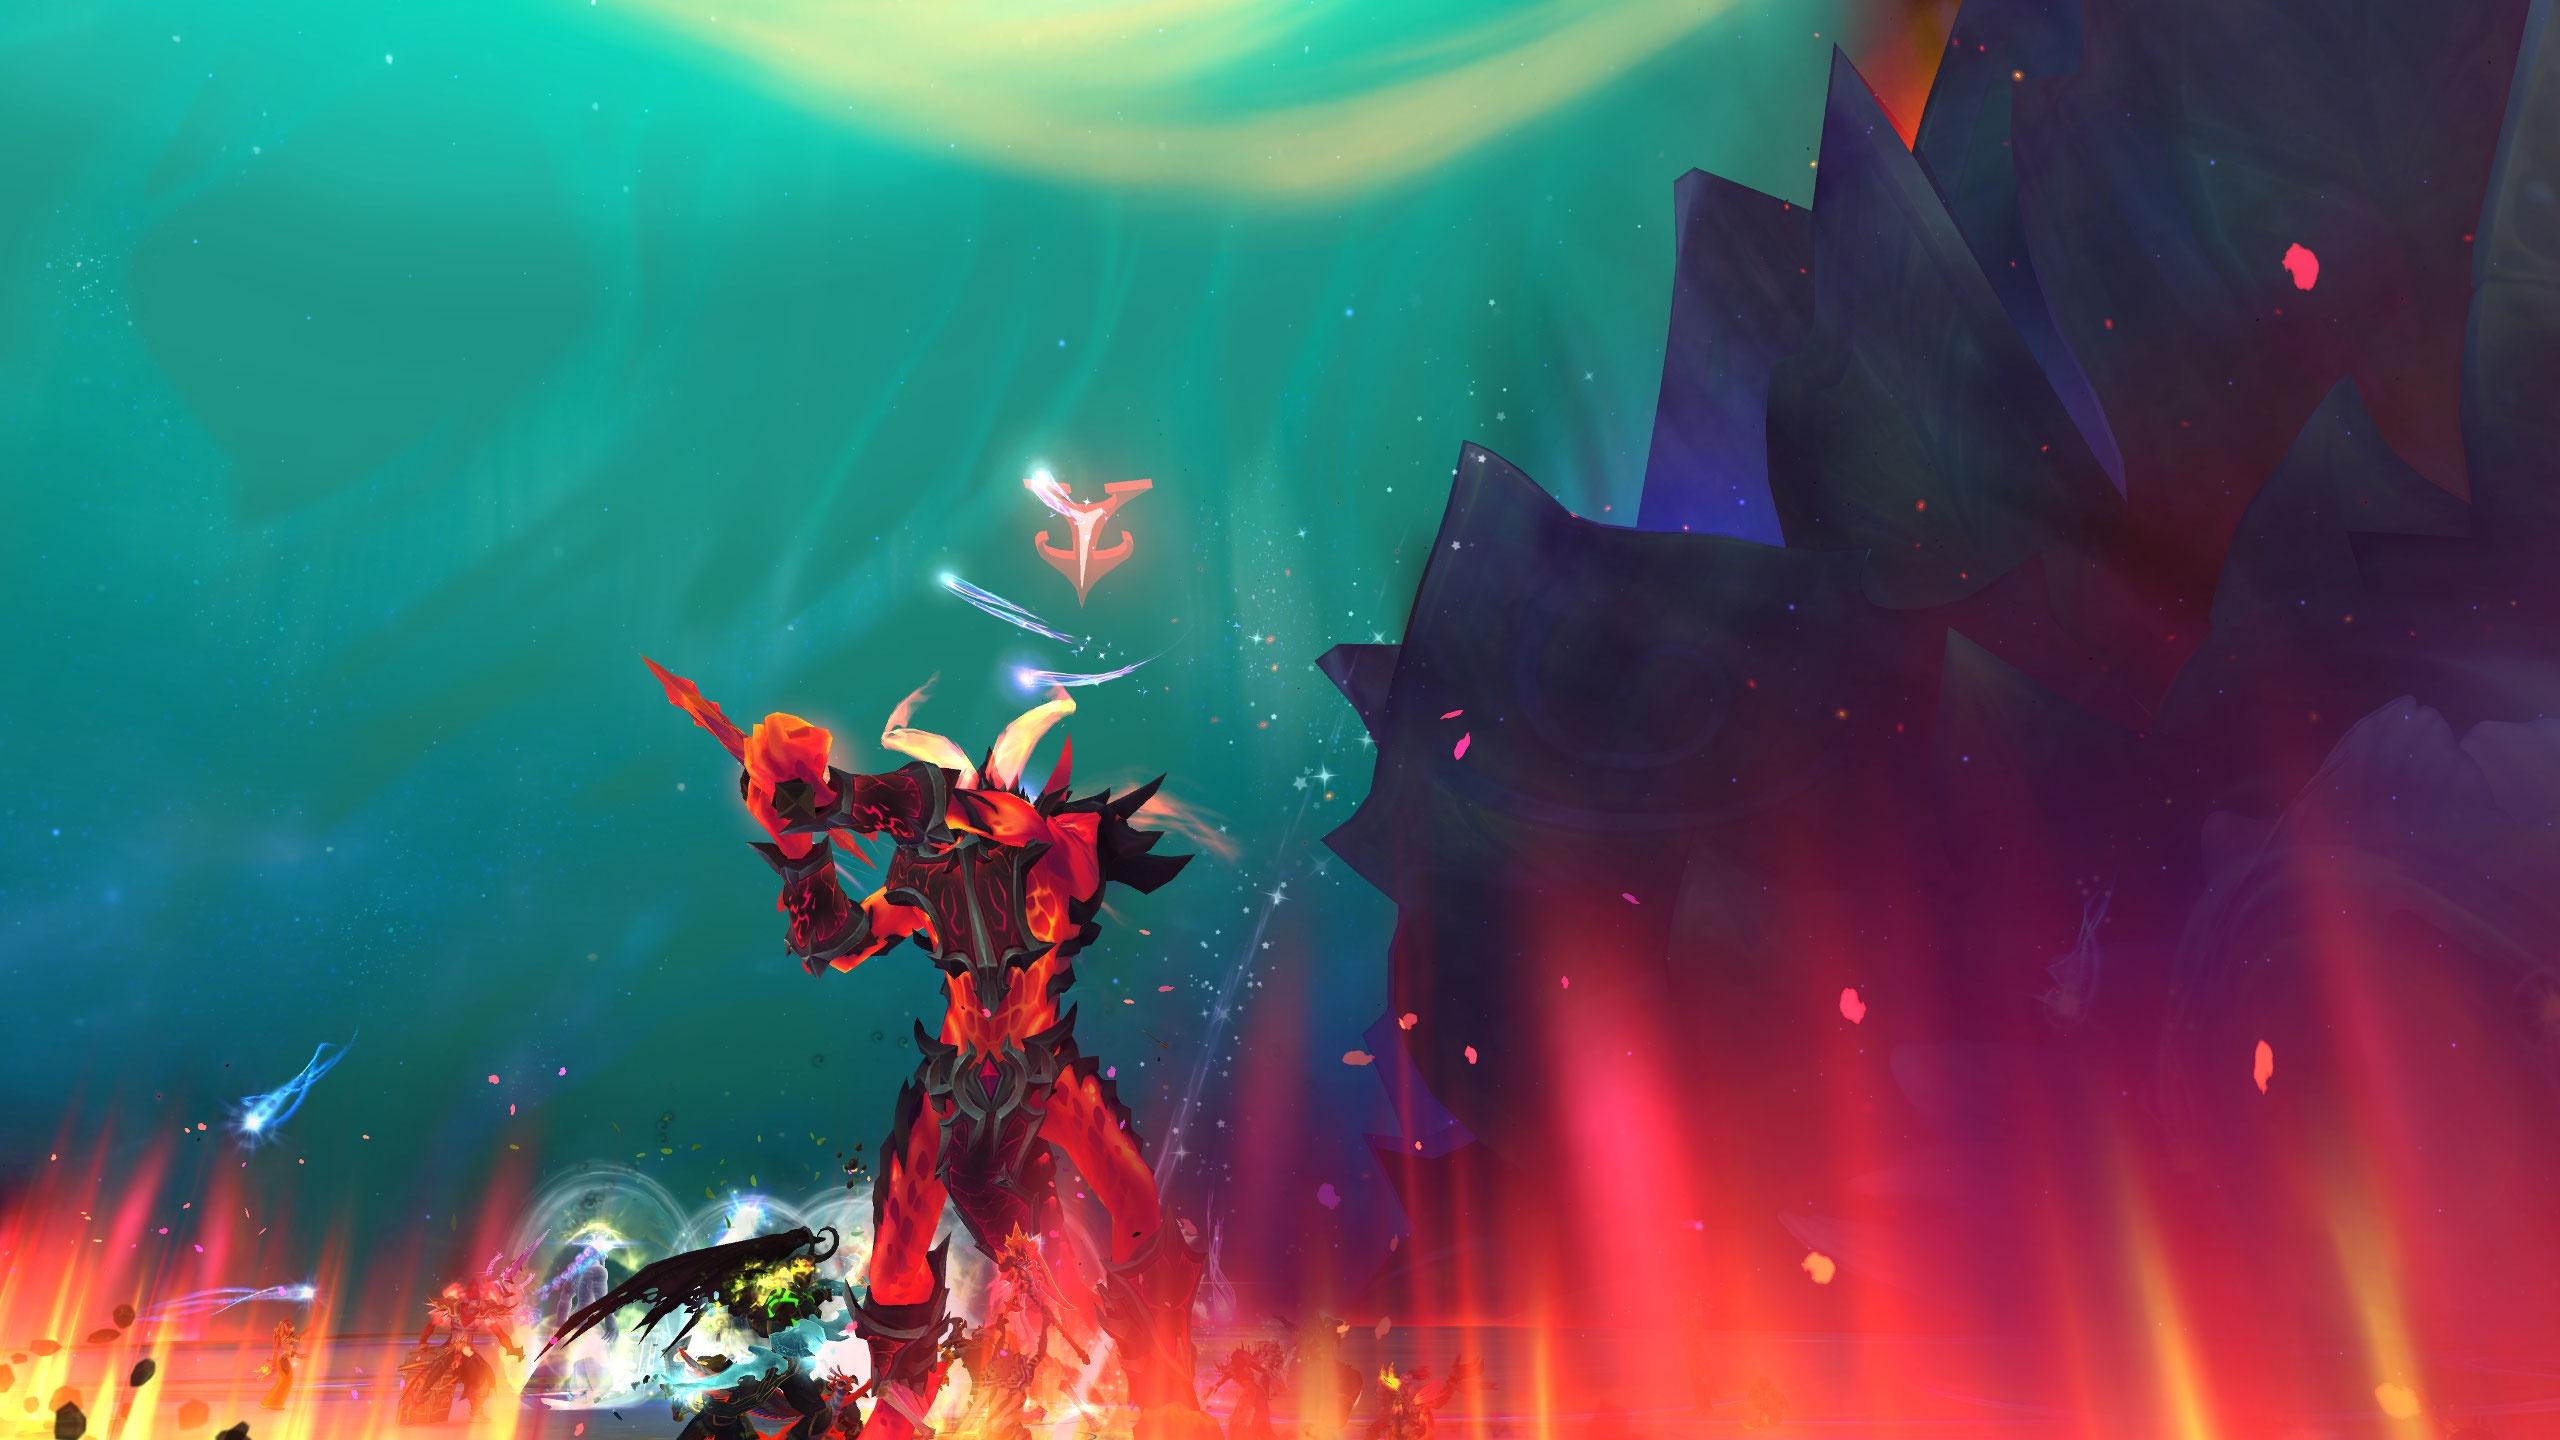
When the seasoned guild ‘Legends of Azeroth’ faced Amirdrassil for the first time, they underestimated the cunning of the Dream’s Hope, resulting in a humbling defeat.
You’re about to step into a raid that’s tripped up even the most experienced players, and if you’re aiming for success, you’ll need more than just brute force.
In this guide, you’ll uncover strategies that are both swift and potent, allowing you to cut through Amirdrassil’s defenses like a finely honed blade.
From understanding the ever-shifting mechanics of the Emerald Nightmare to assembling an optimal team composition, you’ll be equipped to take on each phase with confidence.
Whether you’re a seasoned raider or a newcomer looking to make your mark, the following pages contain essential insights that will transform your approach and elevate your command of the battlefield.
Stay with me, and you’ll discover the keys to not only surviving Amirdrassil but mastering it.
Understanding Amirdrassil’s Mechanics
To successfully conquer Amirdrassil’s challenges, you’ll need to master the raid’s unique mechanics and boss strategies. As you step into the verdant groves of the Dream’s Hope, be prepared for raid-wide damage that will test your group’s resilience. On normal and heroic difficulties, you’ll get a taste of each boss ability, but it’s on mythic difficulty where your skills will be truly put to the test.
You’ll face mechanics that require precise movement and coordination, such as avoiding ground effects that can quickly wipe your party. Keep an eye out for cues signaling a devastating boss ability, calling for immediate reaction to mitigate its effects. To survive, you’ll have to be quick on your feet and ready to adapt to any situation.
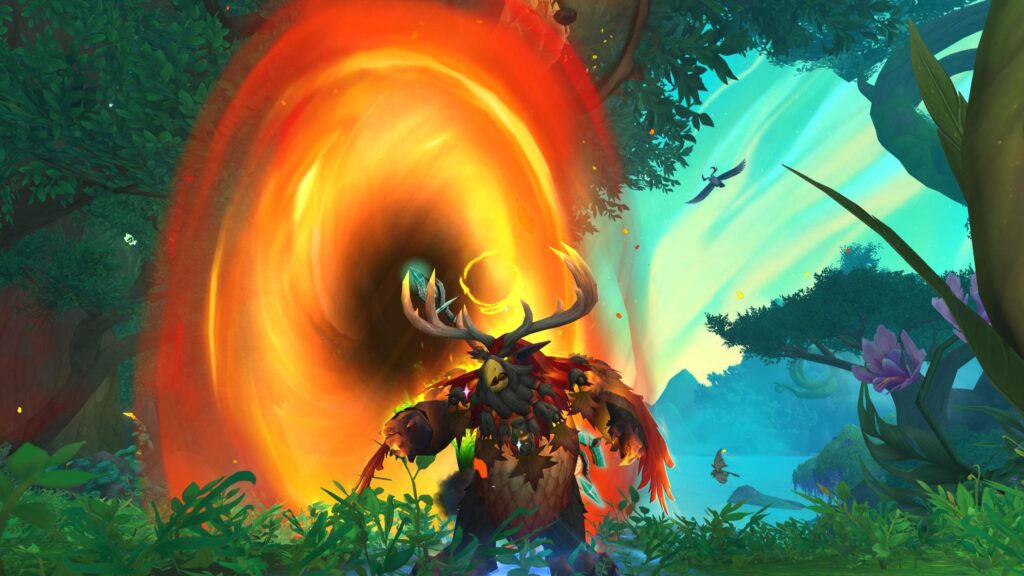
A critical aspect of many encounters will be the tank swap. Pay close attention to the boss’s cast bar and energy levels, as these often indicate when it’s time to trade aggro. Failure to execute a timely tank swap could result in catastrophic tank deaths and, ultimately, a raid wipe.
Optimal Team Composition
Crafting your team with a balanced mix of damage dealers, healers, and tanks is crucial for tackling the diverse challenges of Amirdrassil. The optimal team composition must be versatile enough to conquer the formidable bosses you’ll face in this raid tier. As you dive into each epic battle, keep in mind that Amirdrassil’s raid encounters demand strategic role distribution.
Start with a strong foundation of tanks who can withstand the onslaught of damage. You’ll need healers adept at managing group and single-target healing, as the fight dynamics can shift rapidly. It’s essential to have a mix of healers, each with their distinct strengths, to cover all bases.
Damage dealers are the backbone of your offense. Balance your squad with a mix of melee and ranged DPS, ensuring you can adapt to boss mechanics, whether it’s cleaving down adds or focusing on single-target damage. Consider the classes tied to the raid tier tokens when forming your group. Classes that can utilize Dreadful, Mystic, Venerated, or Zenith Tier Tokens should be included to enhance the overall power of your raid team with set bonuses.
Phase-by-Phase Strategy Breakdown
Having established your raid team with a balance of roles and tier token classes, let’s break down the strategies you’ll need for each phase of the Amirdrassil encounters.
In the first phase, your active tank must be ready to absorb massive damage while positioning Amirdrassil away from the group to minimize cleave impact. Healers, keep an eye on the tank’s health and prepare for quick, heavy heals.
As you transition into the second phase, spread out to mitigate the effects of Amirdrassil’s aoe damage which can quickly whittle down the entire raid. Damage dealers should focus on add control, prioritizing those that threaten your healers. Coordination is key to ensure a smooth transition and to avoid panic.
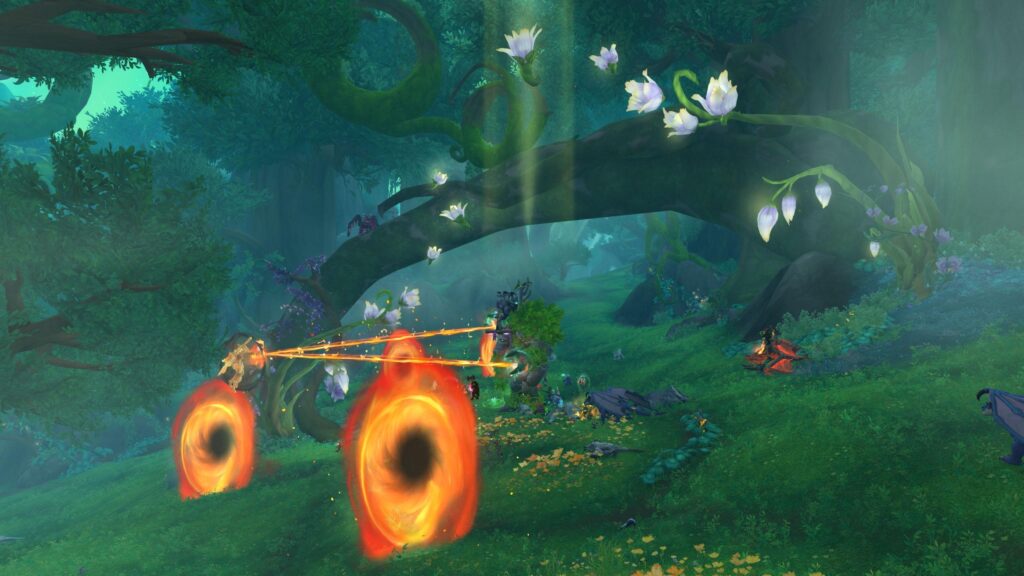
The third phase, especially on heroic difficulty, is a test of endurance and skill. The entire raid must be adept at dodging ground effects while maintaining a high level of dps. Tanks and healers need to work in tandem to survive the onslaught. Remember, your raid’s mobility and situational awareness are just as important as raw damage output. Stick to the plan, keep communication clear, and victory will be within reach.
Key Role Responsibilities
In the Amirdrassil raid, your role—be it tank, healer, or DPS—comes with specific responsibilities that are crucial for the success of the encounter. As a current tank, you’re the frontline, managing the boss’s attention and mitigating damage. Your item levels are essential for survival, so ensure they’re up to par. Keep an eye on boss status, particularly for mechanics that could wipe your team if not handled correctly.
Healers, your priority is to maintain the raid’s health, adapting to damage spikes and sustaining through prolonged fights. Your awareness of the raid’s condition must be impeccable, and your output should match the incoming damage, especially during critical boss abilities.

DPS players, both ranged and melee, are responsible for consistent damage output. Melee players, you’ll need to navigate close-quarters and avoid cleave attacks while maximizing your damage. Ranged DPS, position yourselves to avoid mechanics without sacrificing your performance. All DPS must also be adept at switching to priority targets, such as adds, to control the flow of the fight.
Advanced Tactics and Tips
Why settle for basic strategies when advanced tactics can elevate your raid performance in Amirdrassil, ensuring not only victory but mastery over its most complex challenges? You’ve got to be ahead of the game, using every tool at your disposal for those critical encounters.
Firstly, mastering mass entanglement is key. This spell isn’t just for crowd control – it’s a lifesaver when you’re swarmed by adds during the Viridian Rain phase. Use it to buy your team precious seconds for a well-timed AoE or to reposition without the fear of being overrun.
Speaking of Viridian Rain, it’s imperative to avoid its damage at all costs. However, if you’ve got a solid healer team, you can use it to your advantage. Position yourself to get a slight tick of damage for a controlled damage boost, but communicate with your healers so they’re prepared.
When the dreadfire barrage begins, that’s your cue to ramp up. Coordinate with your DPS to apply substantial damage while the boss is channeling. With Dreadfire’s predictable pattern, you can maximize damage output while minimizing movement, thus keeping your DPS high and steady.
Conclusion
You’ve mastered the mechanics and honed your team comp—now, Amirdrassil’s fate teeters on the brink of your blade.
As you dive into each phase, remember, every role is pivotal, every tactic counts.
And when the dust settles, will you stand as a legend or falter in the shadows?
The final clash looms; it’s your moment to etch victory into the annals of Dragonflight.
Seize it, champion, for glory awaits just beyond the fray.